Step1: Create web app with Claims Based Authentication
Note: Before making any changes to the web.config file of any app, please take the backup
<add name=”SQLConnectionString” connectionString=”data source=MSSQL;Integrated Security=SSPI;Initial Catalog=ASPNETDB” />
</connectionStrings>
<providers>
<add name=”c” type=”Microsoft.SharePoint.Administration.Claims.SPClaimsAuthRoleProvider, Microsoft.SharePoint, Version=14.0.0.0, Culture=neutral, PublicKeyToken=71e9bce111e9429c” />
<add connectionStringName=”SQLConnectionString” applicationName=”/” description=”Stores and retrieves roles from SQL Server” name=”SQLRoleManager” type=”System.Web.Security.SqlRoleProvider, System.Web, Version=2.0.3600.0, Culture=neutral, PublicKeyToken=b03f5f7f11d50a3a” />
</providers>
</roleManager>
<membership defaultProvider=”i”>
<providers>
<add name=”i” type=”Microsoft.SharePoint.Administration.Claims.SPClaimsAuthMembershipProvider, Microsoft.SharePoint, Version=14.0.0.0, Culture=neutral, PublicKeyToken=71e9bce111e9429c” />
<add connectionStringName=”SQLConnectionString” passwordAttemptWindow=”5″ enablePasswordRetrieval=”false” enablePasswordReset=”false” requiresQuestionAndAnswer=”true” applicationName=”/” requiresUniqueEmail=”true” passwordFormat=”Hashed” description=”Stores and Retrieves membership data from SQL Server” name=”SQLMembershipProvider” type=”System.Web.Security.SqlMembershipProvider, System.Web, Version=2.0.3600.0, Culture=neutral, PublicKeyToken=b03f5f7f11d50a3a” />
</providers>
</membership>
Note: Before making any changes to the web.config file of any app, please take the backup
<add name=”SQLConnectionString” connectionString=”data source=MSSQL;Integrated Security=SSPI;Initial Catalog= ASPNETDB ” />
</connectionStrings>
<providers>
<add connectionStringName=”SQLConnectionString” applicationName=”/” description=”Stores and retrieves roles from SQL Server” name=”SQLRoleManager”type=”System.Web.Security.SqlRoleProvider, System.Web, Version=2.0.3600.0, Culture=neutral, PublicKeyToken=b03f5f7f11d50a3a” />
</providers>
</roleManager>
<membership defaultProvider=”SQLMembershipProvider”>
<providers>
<add connectionStringName=”SQLConnectionString” passwordAttemptWindow=”5″ enablePasswordRetrieval=”false” enablePasswordReset=”false” requiresQuestionAndAnswer=”true” applicationName=”/” requiresUniqueEmail=”true” passwordFormat=”Hashed” description=”Stores and Retrieves membership data from SQL Server” name=”SQLMembershipProvider” type=”System.Web.Security.SqlMembershipProvider, System.Web, Version=2.0.3600.0, Culture=neutral, PublicKeyToken=b03f5f7f11d50a3a” />
</providers>
</membership>
<add name=”SQLConnectionString” connectionString=”data source=MSSQL;Integrated Security=SSPI;Initial Catalog=ASPNETDB” />
</connectionStrings>
<providers>
<add name=”c” type=”Microsoft.SharePoint.Administration.Claims.SPClaimsAuthRoleProvider, Microsoft.SharePoint, Version=14.0.0.0, Culture=neutral, PublicKeyToken=71e9bce111e9429c” />
<add connectionStringName=”SQLConnectionString” applicationName=”/” description=”Stores and retrieves roles from SQL Server” name=”SQLRoleManager” type=”System.Web.Security.SqlRoleProvider, System.Web, Version=2.0.3600.0, Culture=neutral, PublicKeyToken=b03f5f7f11d50a3a” />
</providers>
</roleManager>
<membership defaultProvider=”i”>
<providers>
<add name=”i” type=”Microsoft.SharePoint.Administration.Claims.SPClaimsAuthMembershipProvider, Microsoft.SharePoint, Version=14.0.0.0, Culture=neutral, PublicKeyToken=71e9bce111e9429c” />
<add connectionStringName=”SQLConnectionString” passwordAttemptWindow=”5″ enablePasswordRetrieval=”false” enablePasswordReset=”false” requiresQuestionAndAnswer=”true” applicationName=”/” requiresUniqueEmail=”true” passwordFormat=”Hashed” description=”Stores and Retrieves membership data from SQL Server” name=”SQLMembershipProvider” type=”System.Web.Security.SqlMembershipProvider, System.Web, Version=2.0.3600.0, Culture=neutral, PublicKeyToken=b03f5f7f11d50a3a” />
</providers>
</membership>
Step6: Create custom Login Page
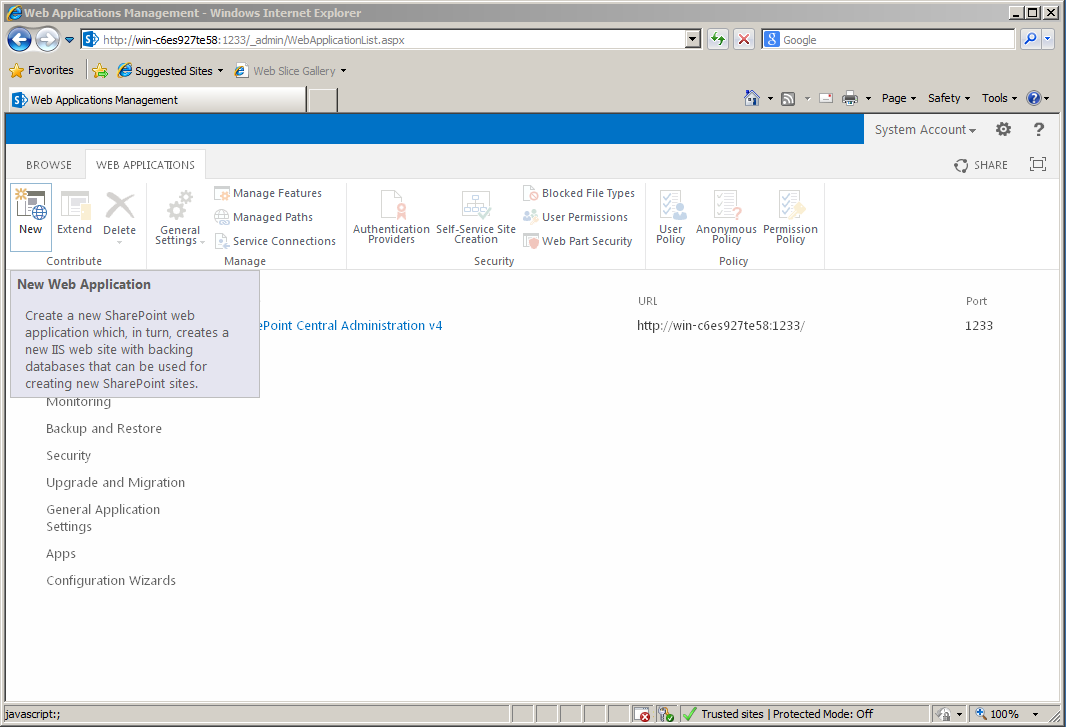
- From Central Administration
- Application Management
- Click Manage Web Applications
- Select New
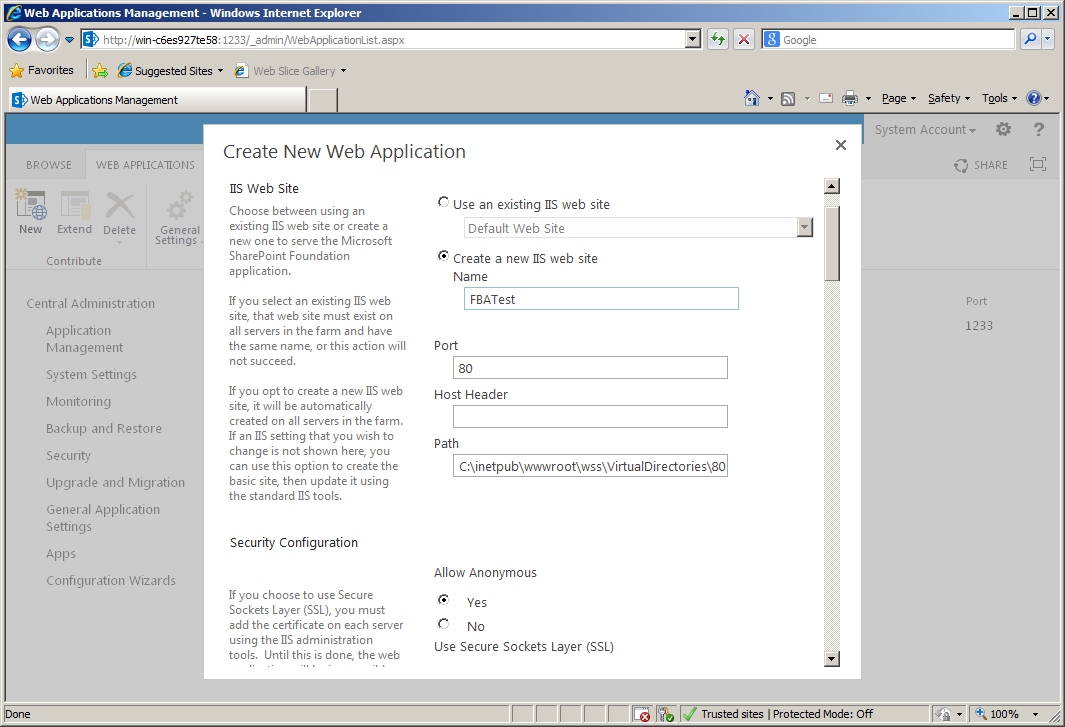
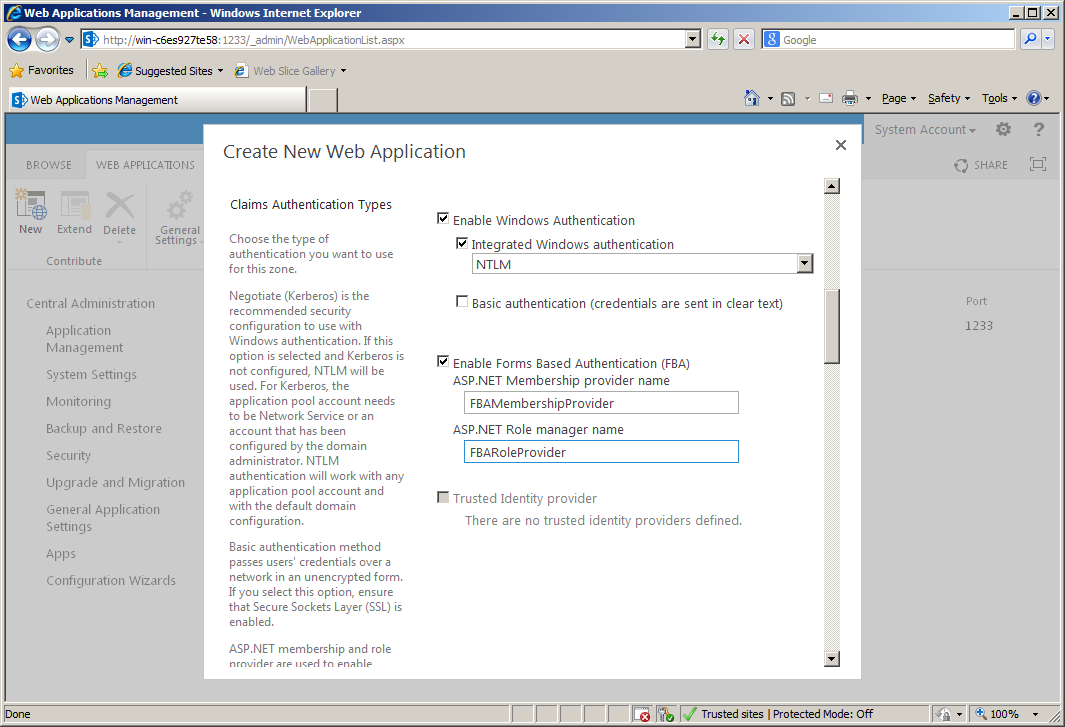
- Now we are in “Create web application” page
- Select Authentication mode to “Claims Based Authentication”
- Give the name of Web app, Port number & Path
- Chose Security configuration
- From Claims Authentication Types, enable both WA and FBA
- FBA section, give ASP.NET Membership provider name (“SQLMembershipProvider”)
- Give Role Manager Name (“SQLRoleManager”)
- Enter Sign in page URL [default], public URL and other information
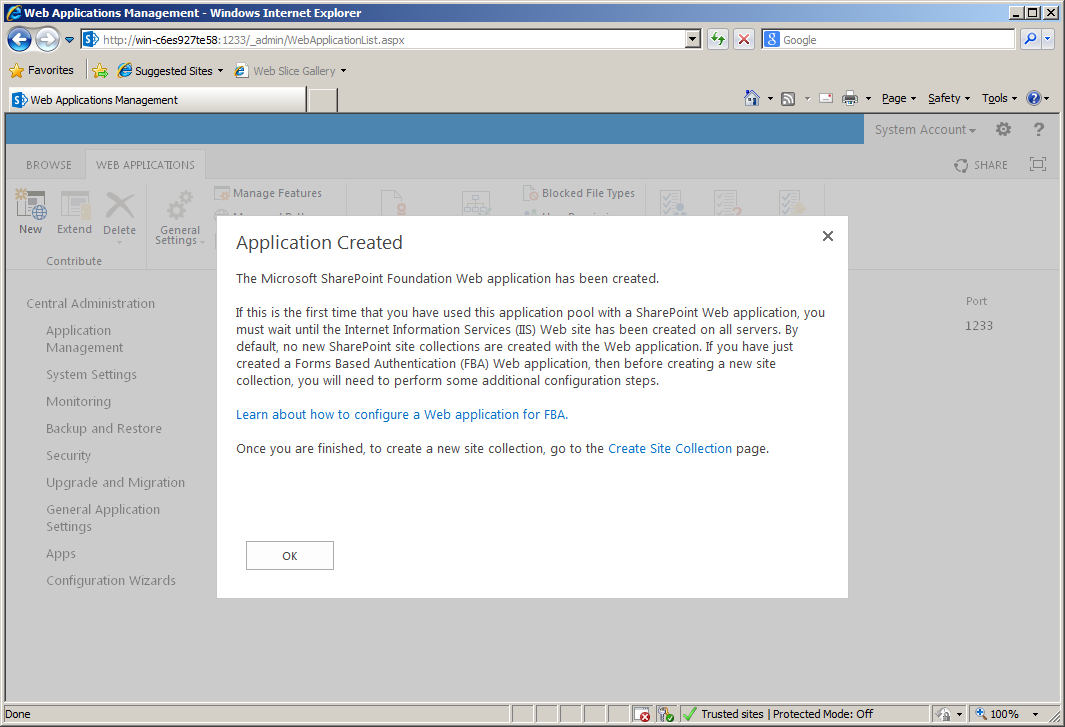
- click OK
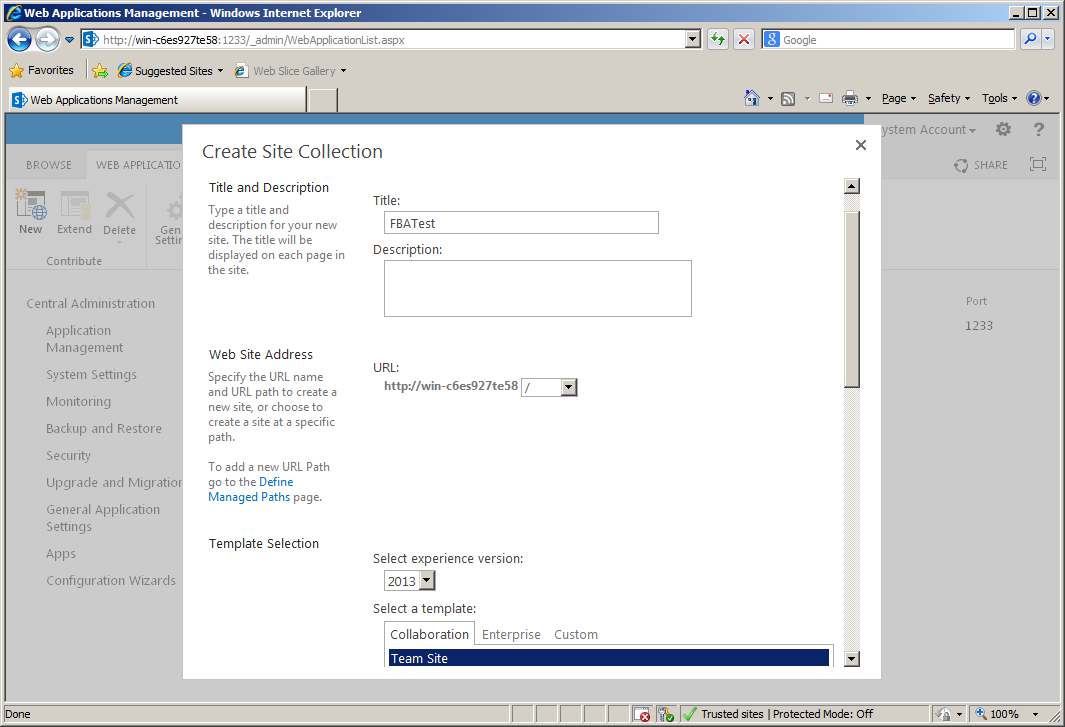
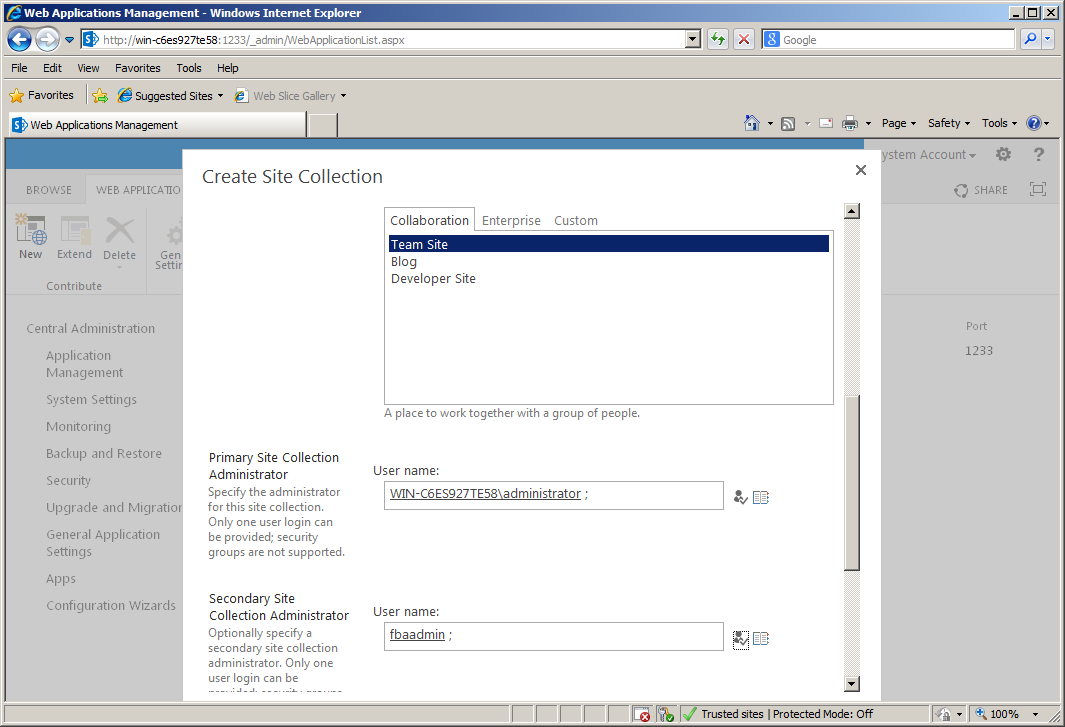
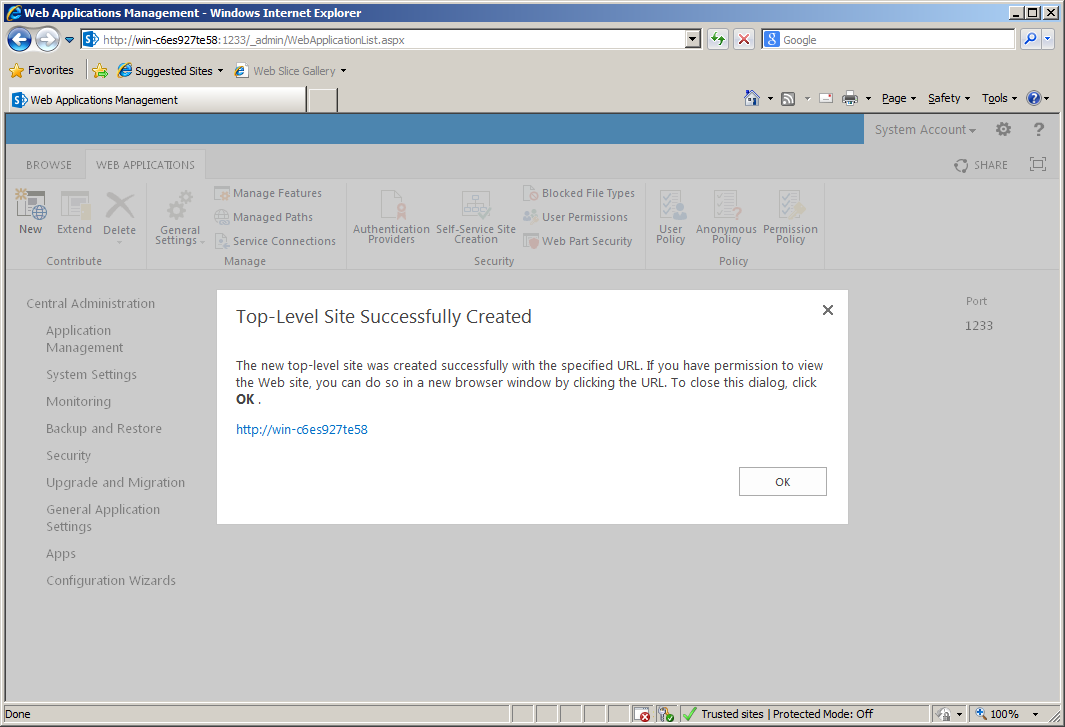
- Then, create a site collection
- Go to Manage Web application
- From the list of web applications chose “Authentication Providers”
- From the dialog box you will see the Default zone
- Set to the Claims authentication mode
- Click the Default zone link where you can see the settings
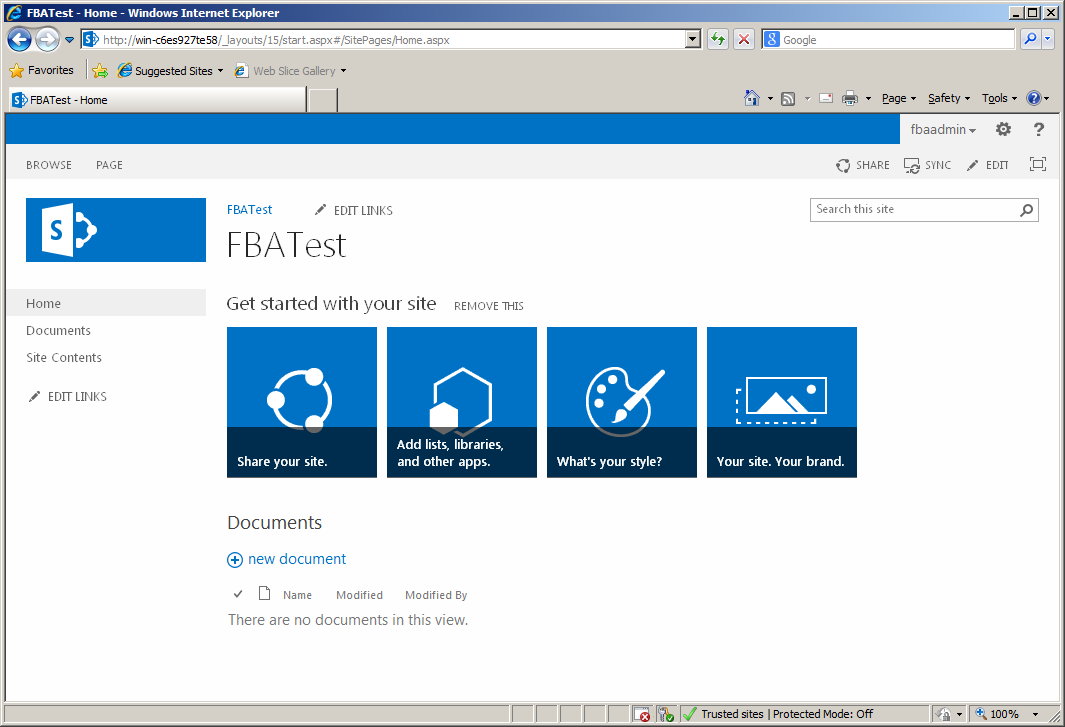
- Now the Application is ready
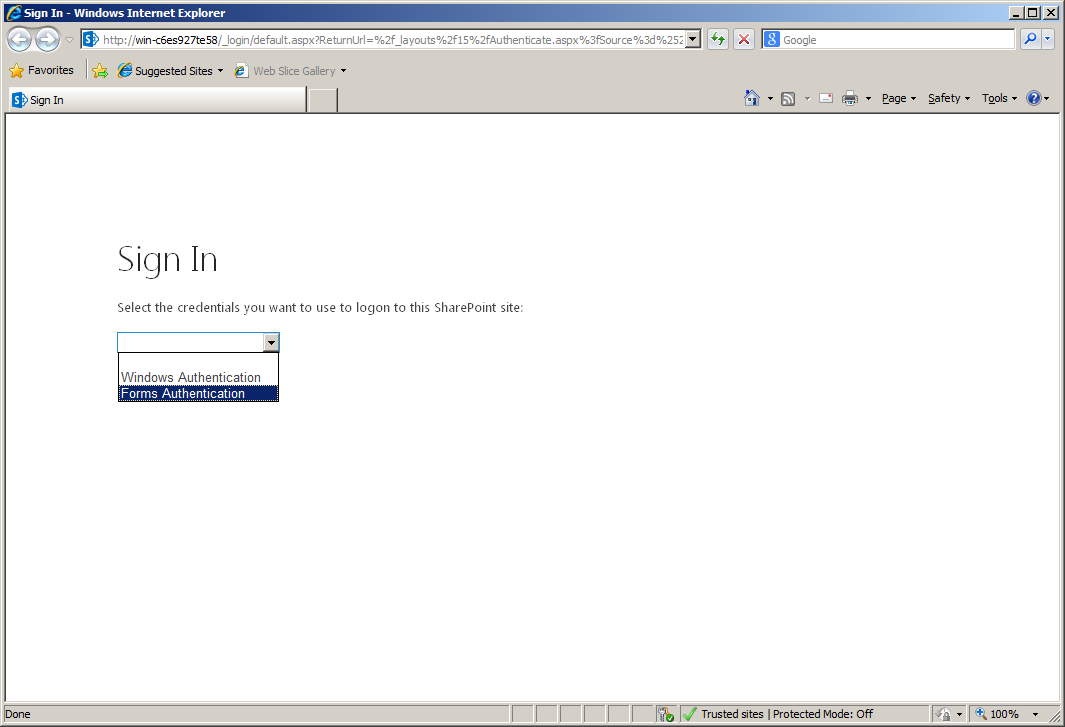
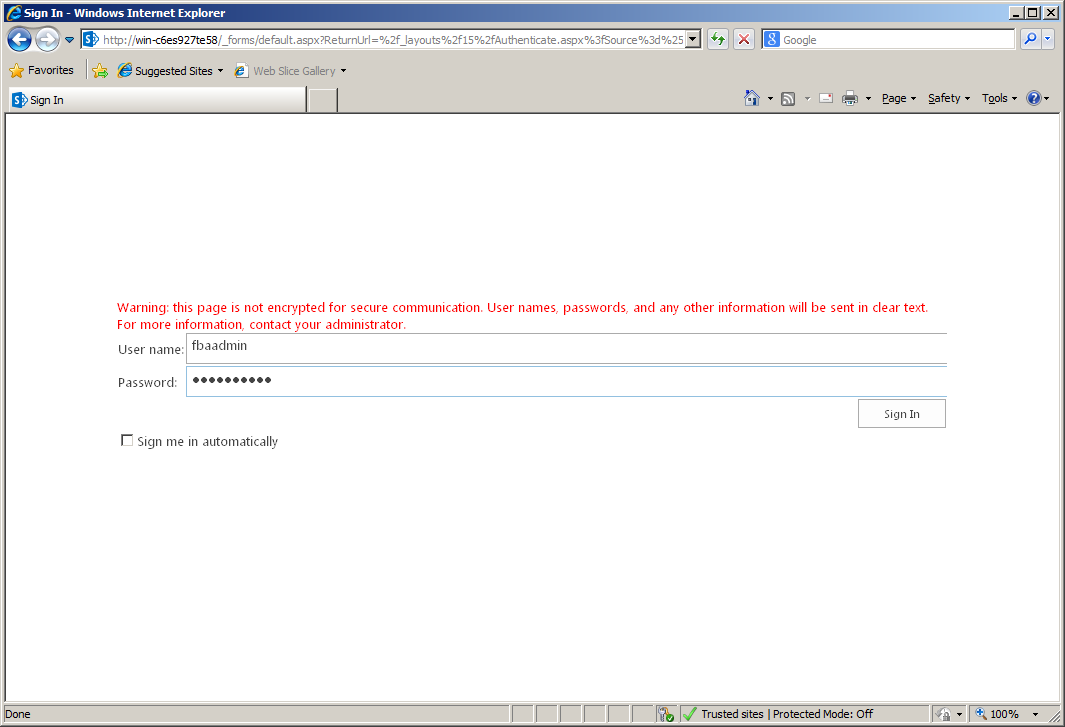
- Browse the application, we can see the default screen
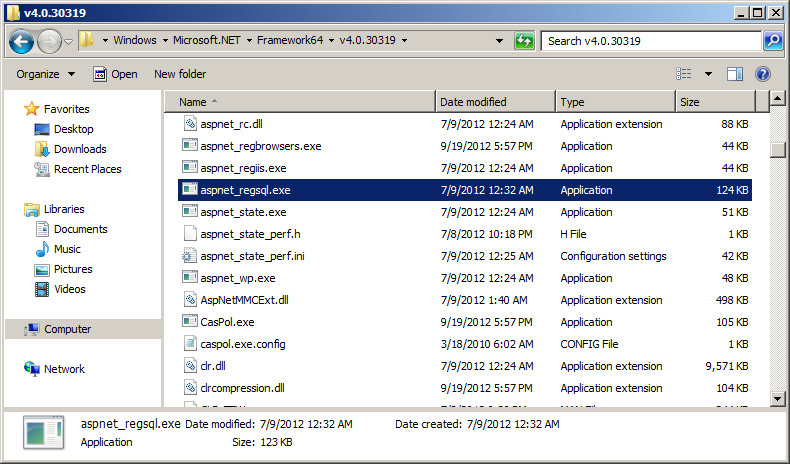
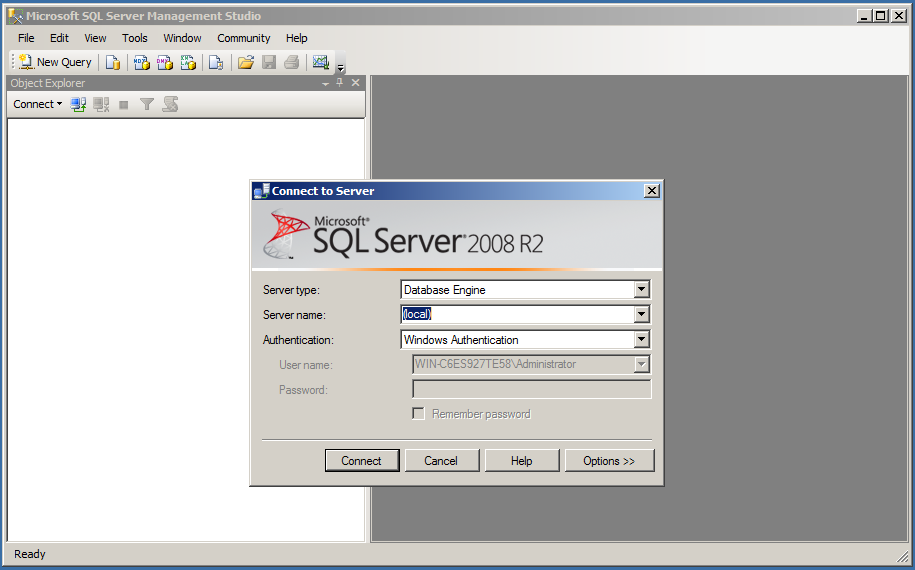
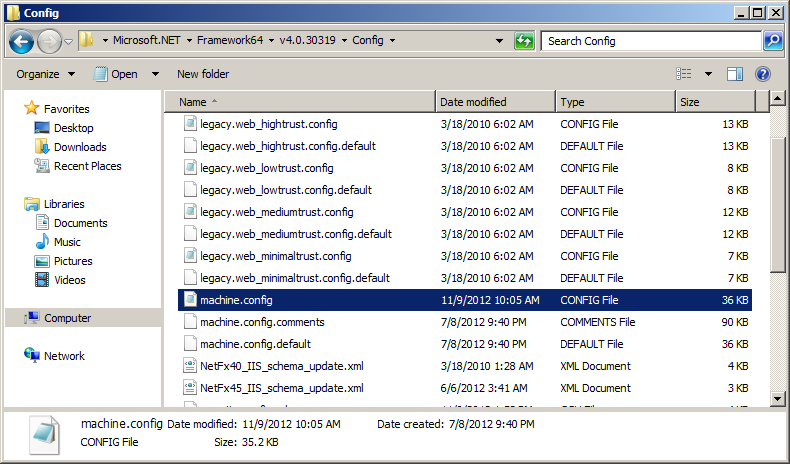
- Login to the server where SQL Server is installed
- Open command prompt
- navigate to location “%Sysroot%\Microsoft.NET\Framework\v2.0.50727”
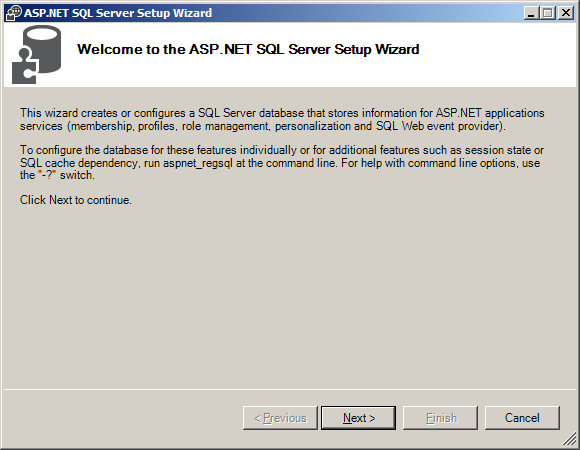
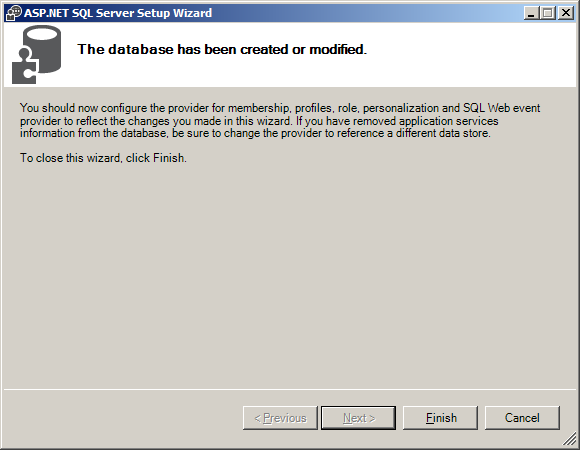
- Run the “aspnet_regsql.exe“ (ASP.NET SQL Server setup wizard)
- Click “Next”
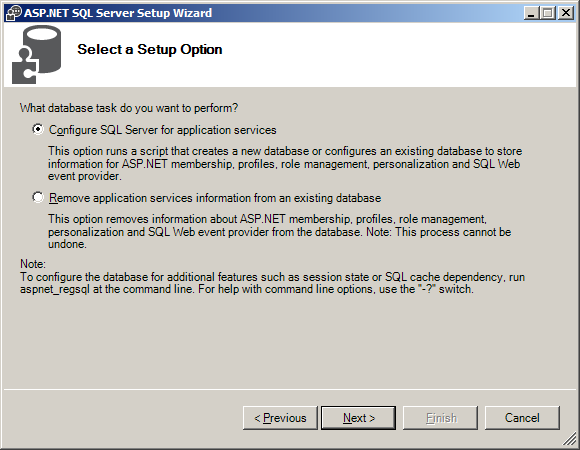
- chose the option “Configure Sql server for application services”
- Click “Next”
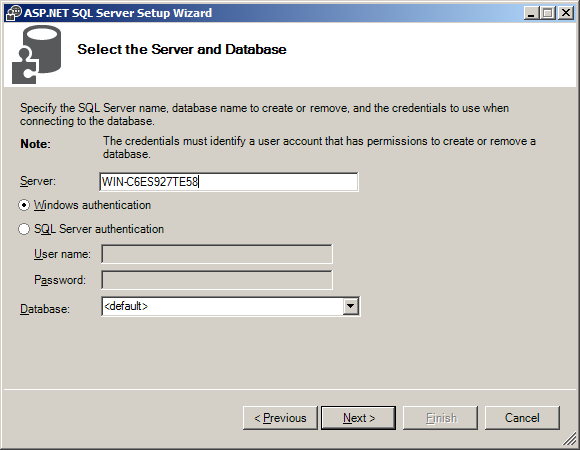
- Give the SQL Server name and authentication information
- by default it shows <default> means the name will be ASPNETDB, but you can change the name here if you want
- Click “Next”
- Finish the wizard
- Their is some tools available in Codeplex
- Go to this site and download “Membershipseeder.zip”
- Extract it and run it
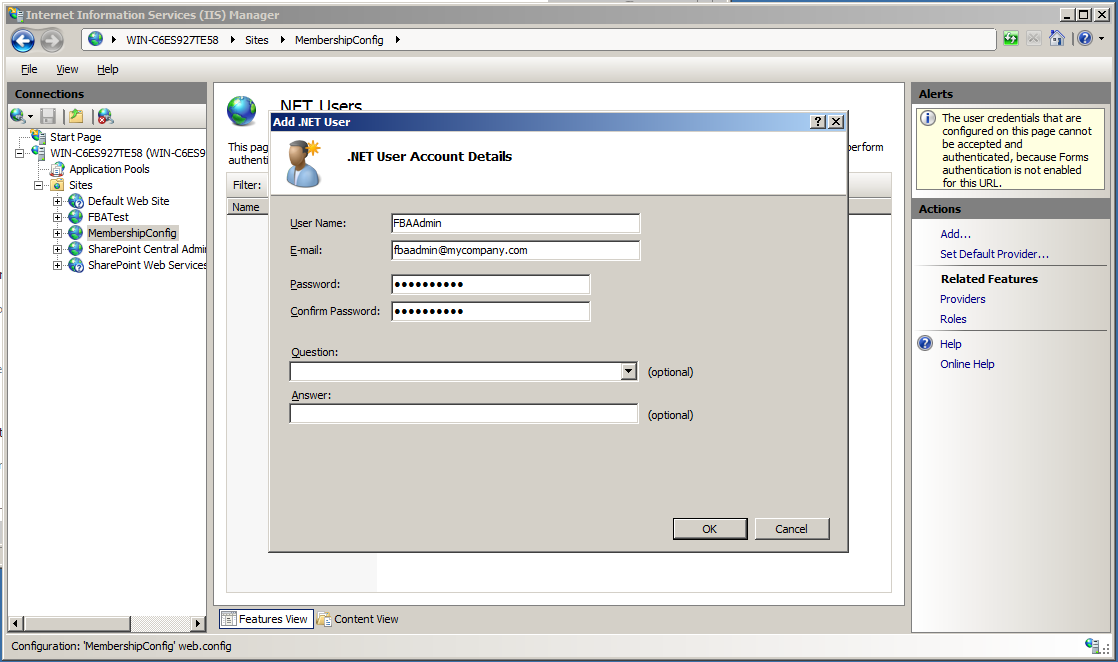
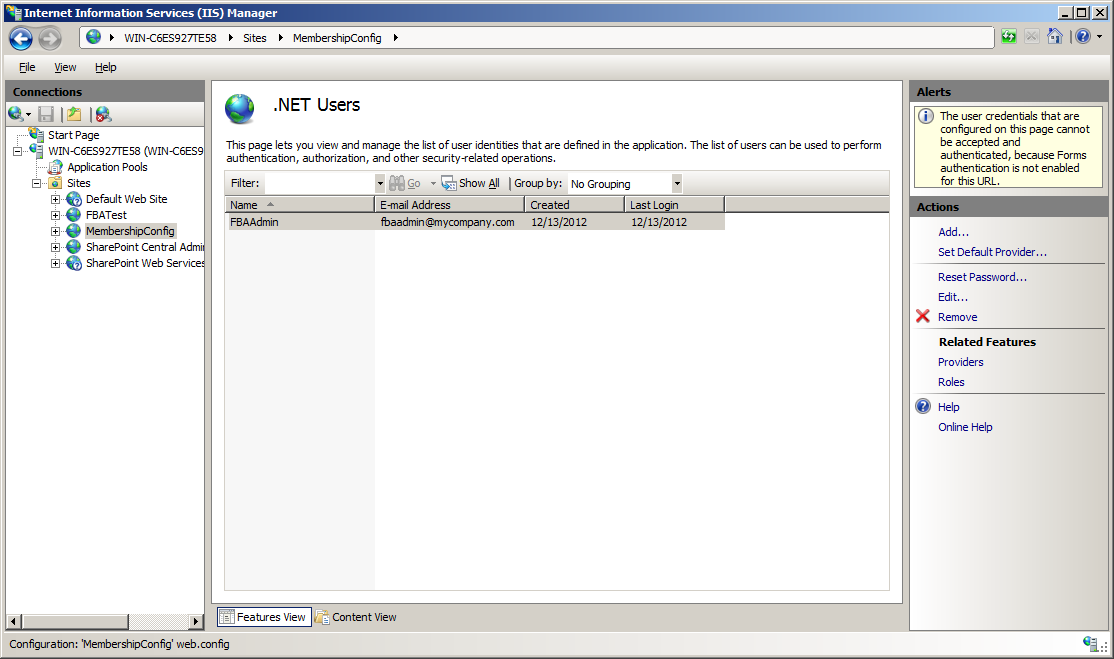
- Create some of users and roles
- Now, we are ready with DB with all some data
Note: Before making any changes to the web.config file of any app, please take the backup
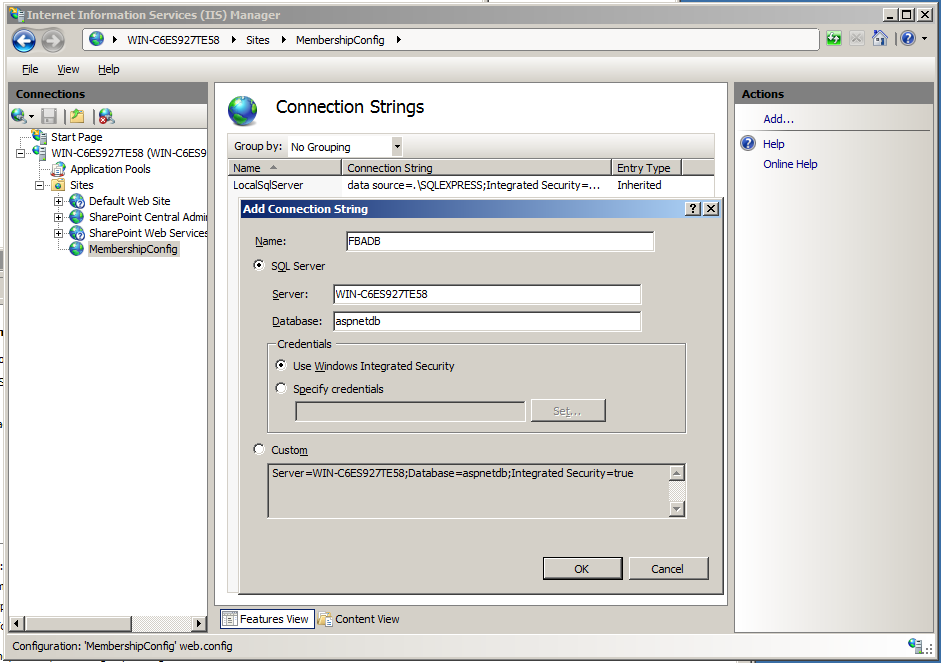
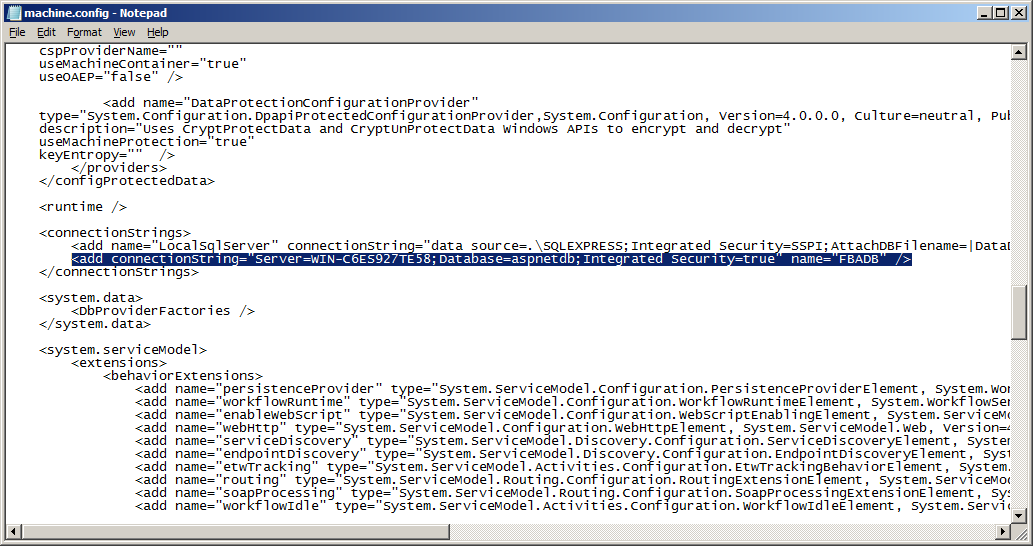
- Add Connectionstring just above <System.Web> starts or just below </Sharepoint> ends
<add name=”SQLConnectionString” connectionString=”data source=MSSQL;Integrated Security=SSPI;Initial Catalog=ASPNETDB” />
</connectionStrings>
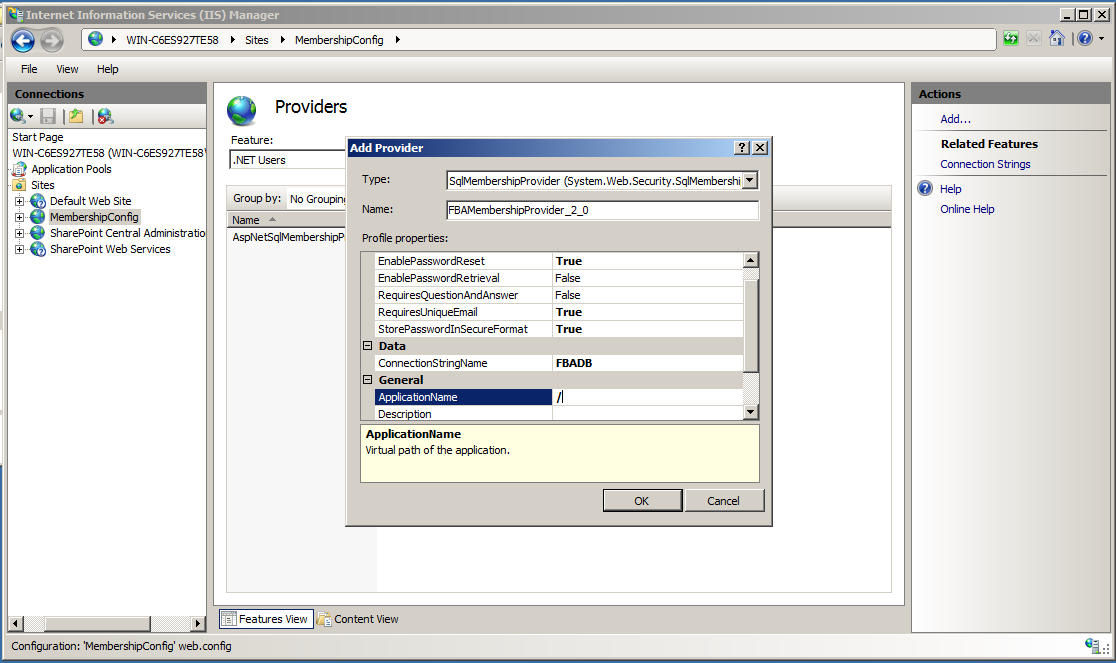
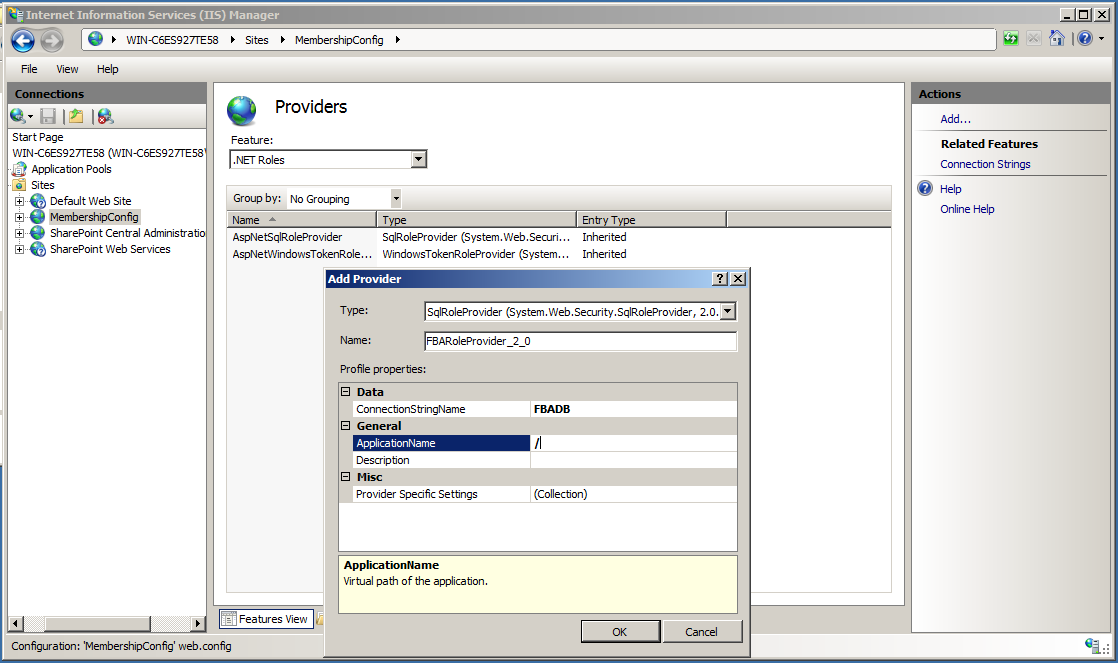
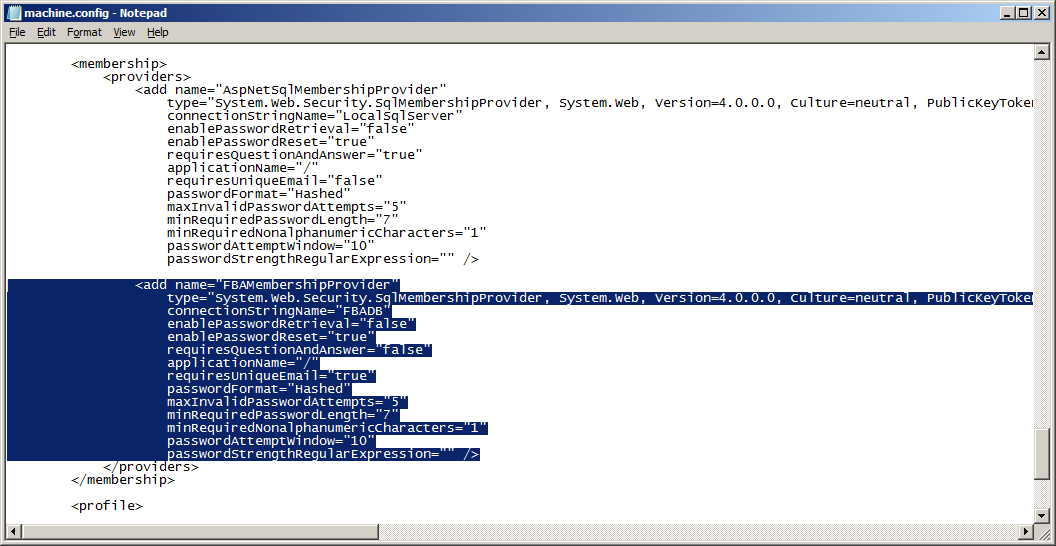
- Add Providers for Membership and Role
- Before you add any providers find are there any membership or rolemanager tags in the web.config file and add the providers [<rolemanager> and <membership>] to the <System.Web> tag
- Make sure that you are not doing any changes to the existing providers.
- By default there are providers with name “C” and “I”. So, do not touch them and add only the providers which we are adding like “SQLRoleManager” and “SqlMembershipProvider”.
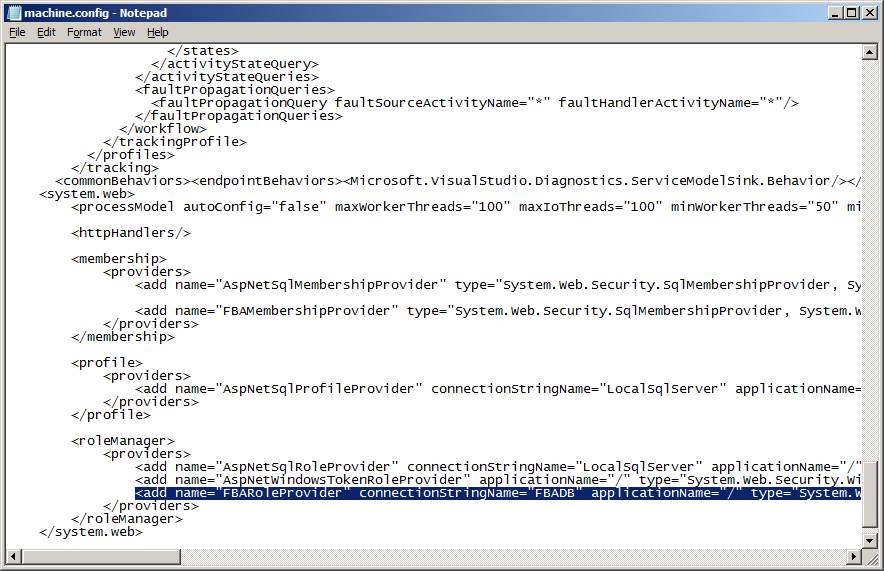
- Finally the <rolemanager> section and <membership> section as shown below:
- (new entries is in bold-italic):
<providers>
<add name=”c” type=”Microsoft.SharePoint.Administration.Claims.SPClaimsAuthRoleProvider, Microsoft.SharePoint, Version=14.0.0.0, Culture=neutral, PublicKeyToken=71e9bce111e9429c” />
<add connectionStringName=”SQLConnectionString” applicationName=”/” description=”Stores and retrieves roles from SQL Server” name=”SQLRoleManager” type=”System.Web.Security.SqlRoleProvider, System.Web, Version=2.0.3600.0, Culture=neutral, PublicKeyToken=b03f5f7f11d50a3a” />
</providers>
</roleManager>
<membership defaultProvider=”i”>
<providers>
<add name=”i” type=”Microsoft.SharePoint.Administration.Claims.SPClaimsAuthMembershipProvider, Microsoft.SharePoint, Version=14.0.0.0, Culture=neutral, PublicKeyToken=71e9bce111e9429c” />
<add connectionStringName=”SQLConnectionString” passwordAttemptWindow=”5″ enablePasswordRetrieval=”false” enablePasswordReset=”false” requiresQuestionAndAnswer=”true” applicationName=”/” requiresUniqueEmail=”true” passwordFormat=”Hashed” description=”Stores and Retrieves membership data from SQL Server” name=”SQLMembershipProvider” type=”System.Web.Security.SqlMembershipProvider, System.Web, Version=2.0.3600.0, Culture=neutral, PublicKeyToken=b03f5f7f11d50a3a” />
</providers>
</membership>
- Save all your changes
Note: Before making any changes to the web.config file of any app, please take the backup
- Add Connectionstring just above <System.Web> starts or just below </Sharepoint> ends
<add name=”SQLConnectionString” connectionString=”data source=MSSQL;Integrated Security=SSPI;Initial Catalog= ASPNETDB ” />
</connectionStrings>
- Add Providers for Membership and Role
- Before you add any providers find are there any membership or rolemanager tags in the web.config file and add the providers [<rolemanager> and <membership>] to the <System.Web> tag
- Make sure that you are not doing any changes to the existing providers
- By default there are providers with name “C” and “I”. So, do not touch them and add only the providers which we are adding like “SQLRoleManager” and “SqlMembershipProvider”.
- Finally the <rolemanager> section and <membership> section as shown below:
- (new entries is in bold-italics):
<providers>
<add connectionStringName=”SQLConnectionString” applicationName=”/” description=”Stores and retrieves roles from SQL Server” name=”SQLRoleManager”type=”System.Web.Security.SqlRoleProvider, System.Web, Version=2.0.3600.0, Culture=neutral, PublicKeyToken=b03f5f7f11d50a3a” />
</providers>
</roleManager>
<membership defaultProvider=”SQLMembershipProvider”>
<providers>
<add connectionStringName=”SQLConnectionString” passwordAttemptWindow=”5″ enablePasswordRetrieval=”false” enablePasswordReset=”false” requiresQuestionAndAnswer=”true” applicationName=”/” requiresUniqueEmail=”true” passwordFormat=”Hashed” description=”Stores and Retrieves membership data from SQL Server” name=”SQLMembershipProvider” type=”System.Web.Security.SqlMembershipProvider, System.Web, Version=2.0.3600.0, Culture=neutral, PublicKeyToken=b03f5f7f11d50a3a” />
</providers>
</membership>
- Save the web.config file
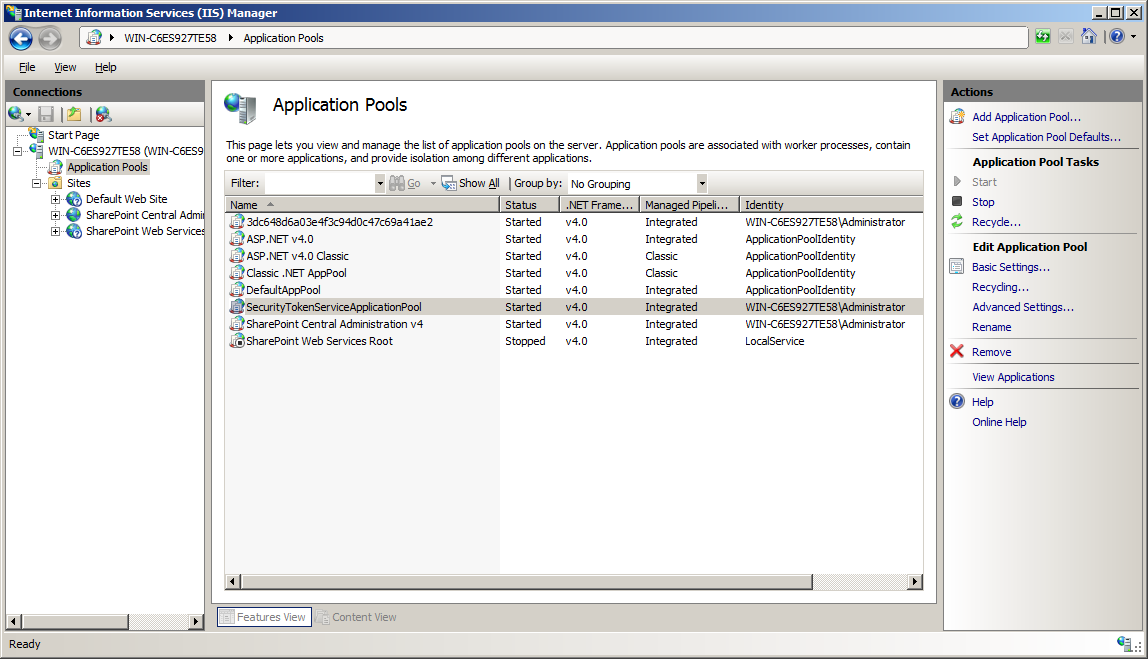
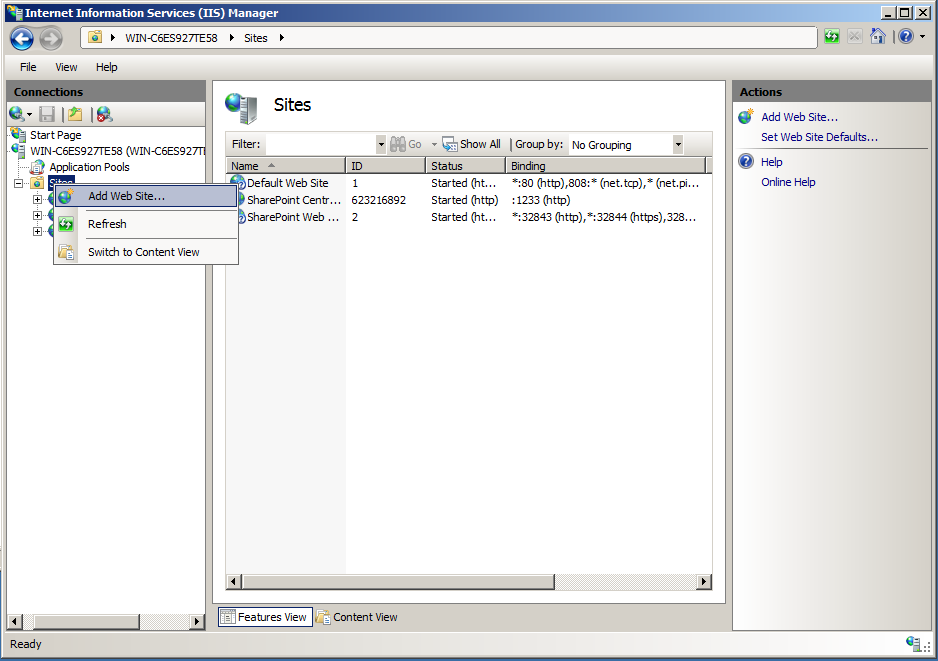
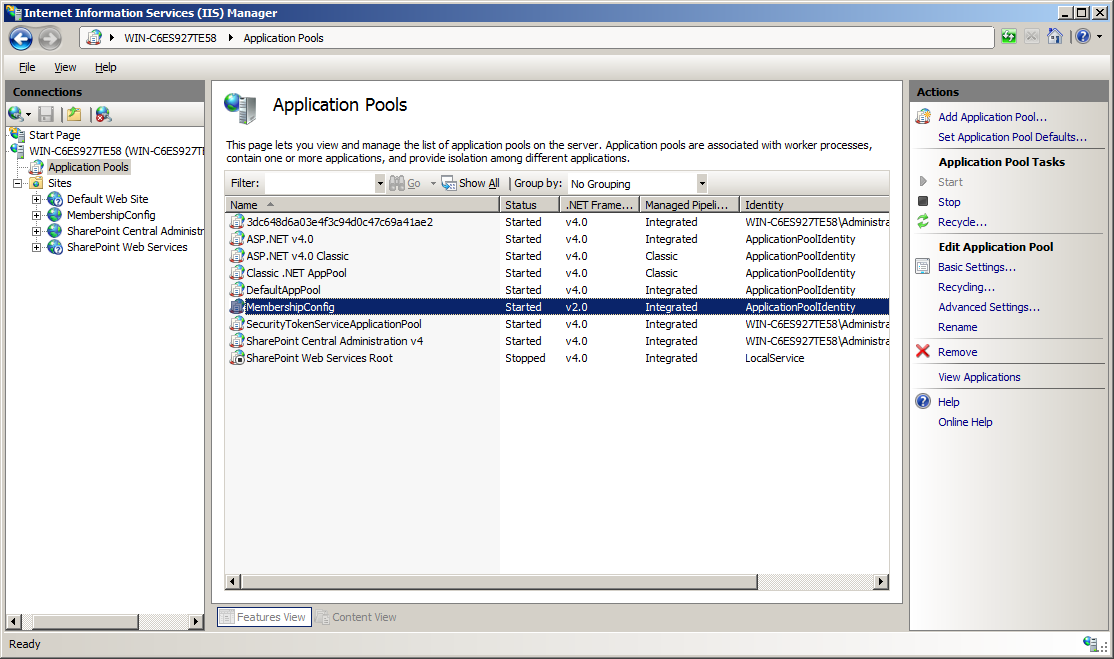
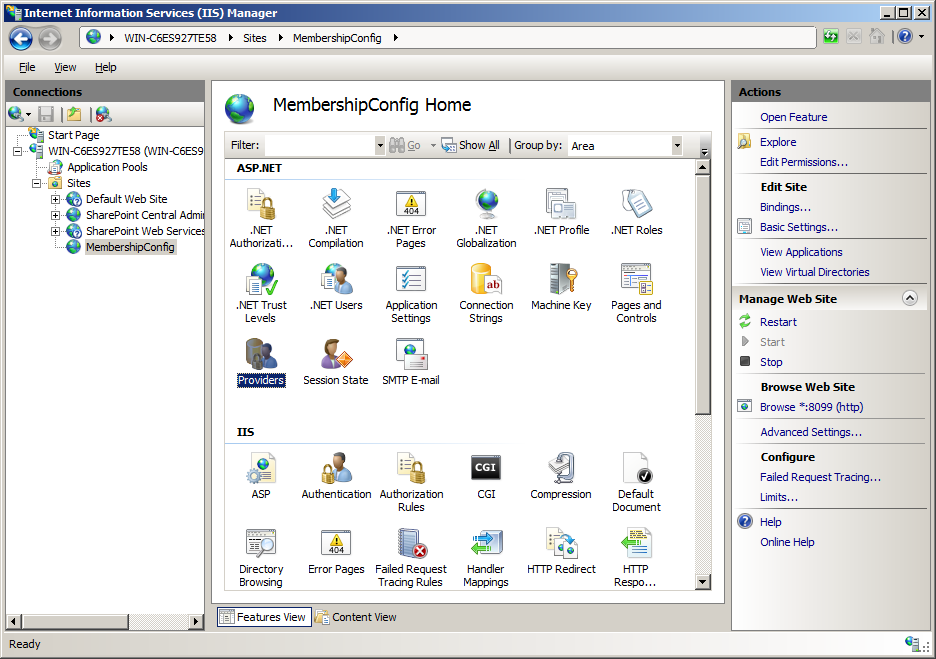
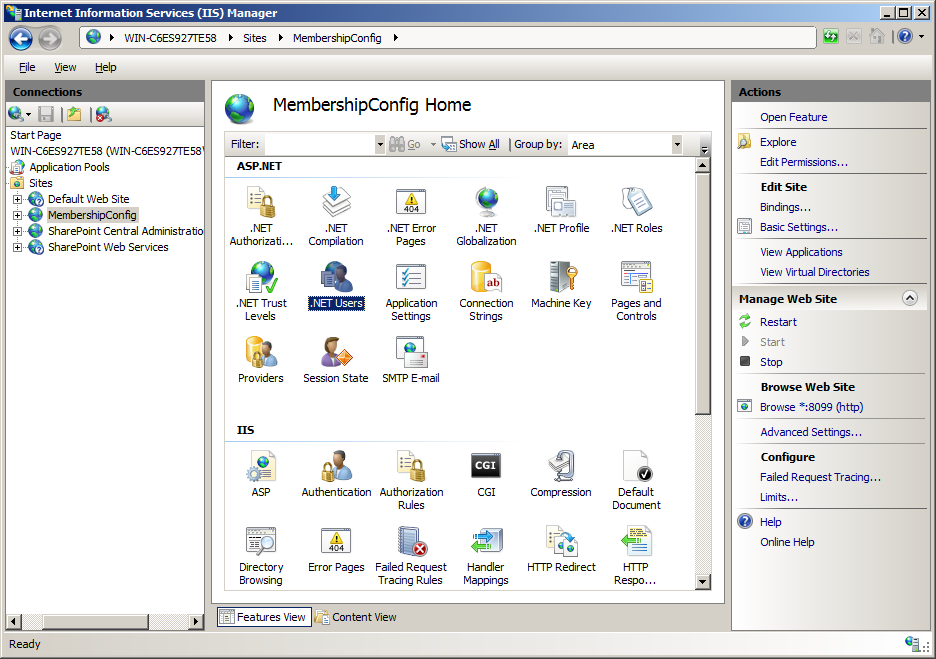
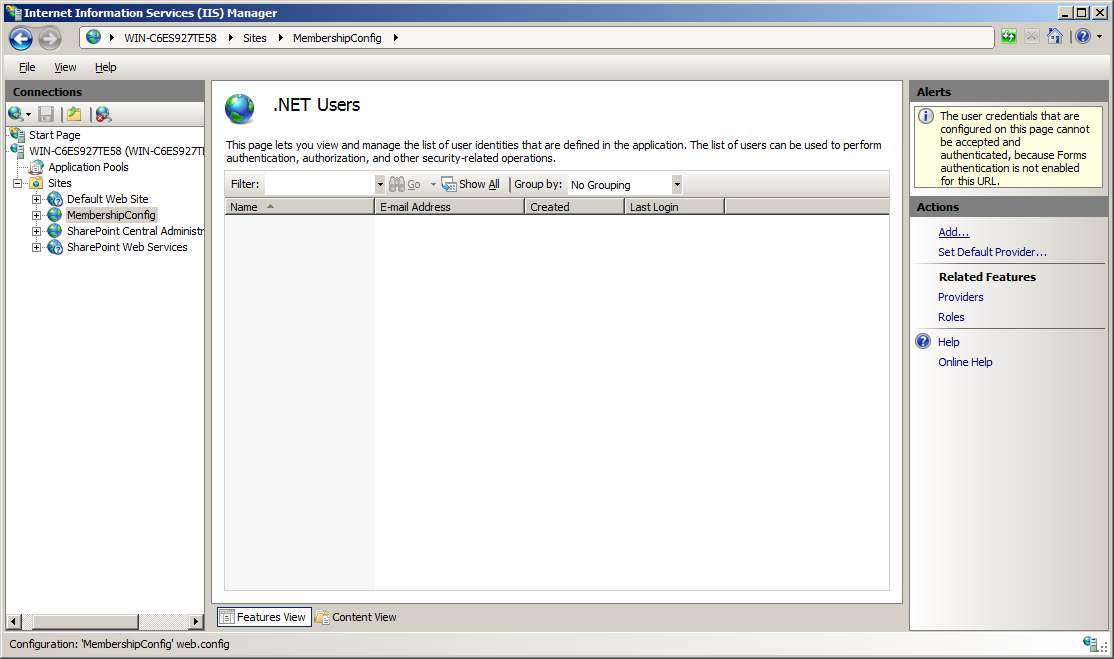
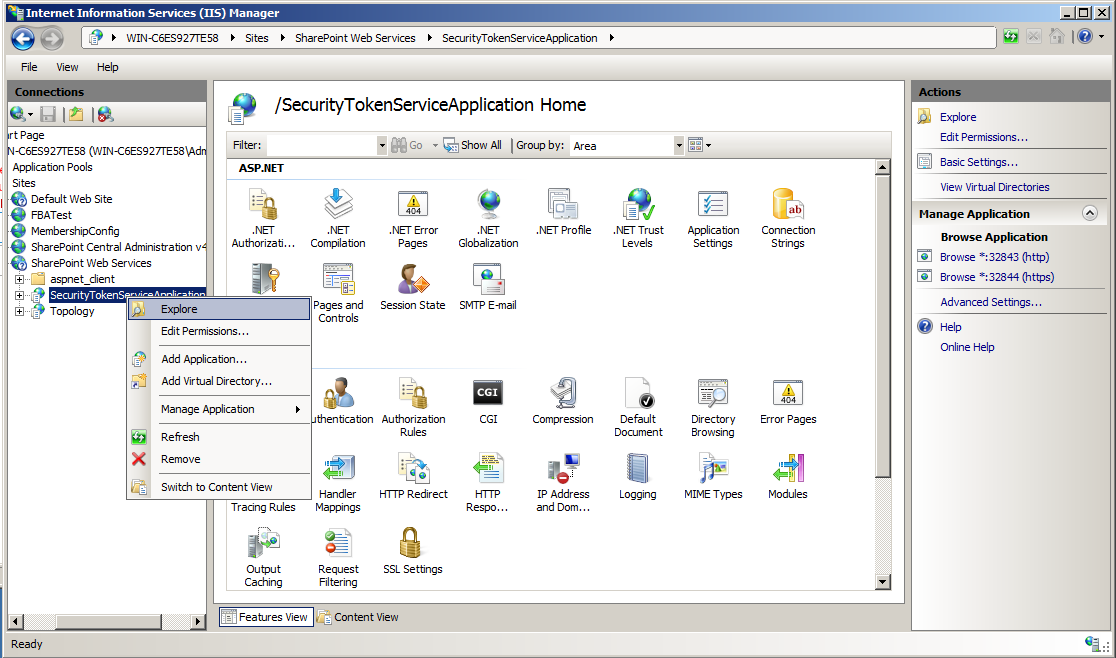
- Open IIS
- From the list of sites available expand “SharePoint Web Services” and find SecurityTokenServiceApplication
- Right click on the application and explore, which will opens the file system file location of the application. By default it will be in “%programfiles%\common files\Microsoft Shared\web server extensions\14\WebServices\SecurityToken”
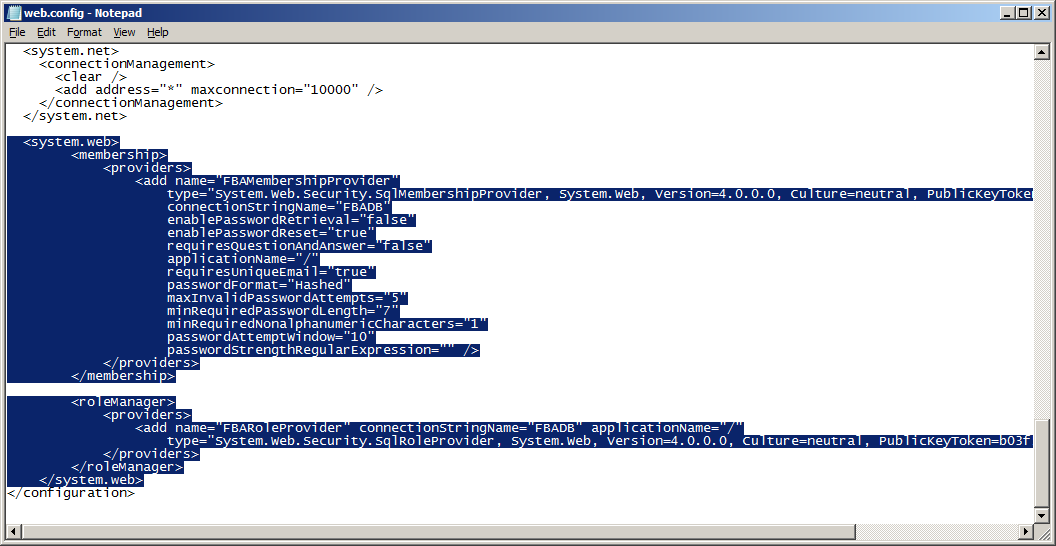
- Find the web.config of the application and modify it
- Just above <System.Web> starts, add the connection strings tag
<add name=”SQLConnectionString” connectionString=”data source=MSSQL;Integrated Security=SSPI;Initial Catalog=ASPNETDB” />
</connectionStrings>
- Add Providers for Membership and Role
- Before you add any providers find are there any membership or rolemanager tags in the web.config file and add the providers [<rolemanager> and <membership>] to the <System.Web> tag
- Make sure that you are not doing any changes to the existing providers
- By default there are providers with name “C” and “I”. So, do not touch them and add only the providers which we are adding like “SQLRoleManager” and “SqlMembershipProvider”.
- Finally the <rolemanager> section and <membership> section as shown below:
- (new entries is in bold-italics):
<providers>
<add name=”c” type=”Microsoft.SharePoint.Administration.Claims.SPClaimsAuthRoleProvider, Microsoft.SharePoint, Version=14.0.0.0, Culture=neutral, PublicKeyToken=71e9bce111e9429c” />
<add connectionStringName=”SQLConnectionString” applicationName=”/” description=”Stores and retrieves roles from SQL Server” name=”SQLRoleManager” type=”System.Web.Security.SqlRoleProvider, System.Web, Version=2.0.3600.0, Culture=neutral, PublicKeyToken=b03f5f7f11d50a3a” />
</providers>
</roleManager>
<membership defaultProvider=”i”>
<providers>
<add name=”i” type=”Microsoft.SharePoint.Administration.Claims.SPClaimsAuthMembershipProvider, Microsoft.SharePoint, Version=14.0.0.0, Culture=neutral, PublicKeyToken=71e9bce111e9429c” />
<add connectionStringName=”SQLConnectionString” passwordAttemptWindow=”5″ enablePasswordRetrieval=”false” enablePasswordReset=”false” requiresQuestionAndAnswer=”true” applicationName=”/” requiresUniqueEmail=”true” passwordFormat=”Hashed” description=”Stores and Retrieves membership data from SQL Server” name=”SQLMembershipProvider” type=”System.Web.Security.SqlMembershipProvider, System.Web, Version=2.0.3600.0, Culture=neutral, PublicKeyToken=b03f5f7f11d50a3a” />
</providers>
</membership>
- Save the web.config file
Step6: Create custom Login Page
- Start Visual Studio 2010
- Create a new SharePoint 2010 project using the “Empty SharePoint Project” template.
- Choose Farm Solution (We are going to deploy files to the SharePoint root, also known as the 14 hive, so we cannot use the sandbox here)
- Add a new item to the project. Choose to use the Application Page template and name the new page Login.aspx
- Add a reference to the assembly “Microsoft.SharePoint.IdentityModel” ( It does not show up in the list of assemblies in the Add Reference dialog, you need to browse to it using the path “C:\Windows\assembly\GAC_MSIL\Microsoft.SharePoint.IdentityModel \14.0.0.0__71e9bce111e9429c\Microsoft.SharePoint.IdentityModel.dll”
- Add the code from the following site:
- http://tomaszrabinski.pl/wordpress/2011/06/23/sharepoint-2010-custom-login-page/
- Publish
- To configure your custom login page, Go to Central Administration
- Click on “Manage web applications”
- Click your web site, This lights up the “Authentication Providers” ribbon button
- Click the Authentication Providers ribbon button
- Choose the zone that you want to configure (this should be the zone that was extended for FBA, or the default zone).
- Scroll down a bit and you’ll see where to configure the Sign In Page URL


 Important: